Compiling OpenCV with CUDA Support using CMake and VS2019 on Windows 10
OpenCV is one of the most widely used libraries for C++ based computer vision development. I have been using OpenCV since version 2.4, up to the current release 4.5.2.
OpenCV is feature-rich, covering most classic algorithms in traditional image processing. Its core matrix type, Mat, is simple yet powerful. Recent versions have introduced the DNN (Deep Neural Network) module to support inference for deep learning models. Recently, I decided to use the DNN module for algorithm deployment. Since I required GPU acceleration—which the standard official pre-built packages do not provide—I decided to compile OpenCV from source to create a custom build that meets my specific needs. For daily development, mastering this process is a worthwhile long-term investment.
Due to project requirements, this guide is based on Windows 10. While compiling on Linux is often more straightforward, Visual Studio’s support for CMake on Windows has become increasingly robust.
Preparation
I created a folder named opencv-github in my work directory and cloned the latest opencv and opencv_contrib source code from GitHub. The opencv_contrib repository contains experimental modules and “non-free” components.
git clone https://github.com/opencv/opencv.git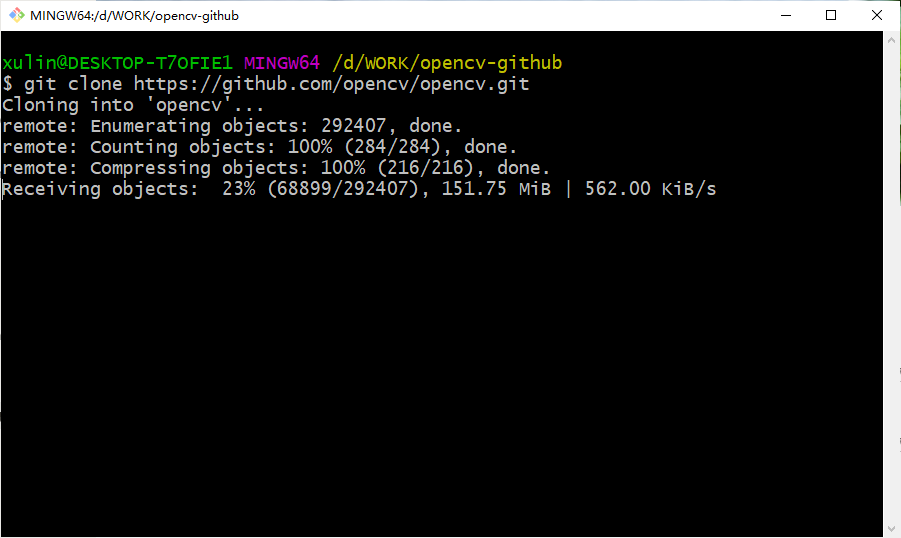
git clone https://github.com/opencv/opencv_contrib.git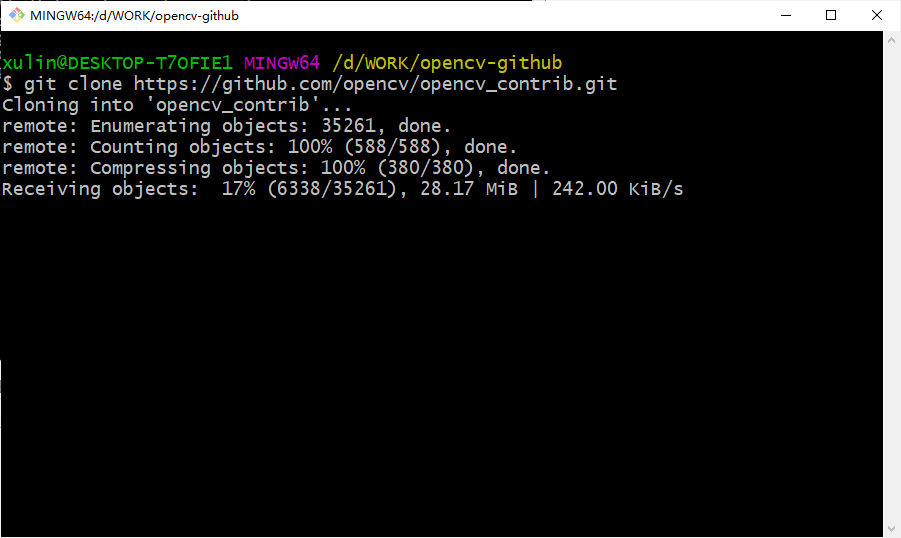
CMake Configuration
If you have Visual Studio 2019 installed, you can usually launch cmake-gui directly from the command prompt. Once open, configure the source and build paths. My setup is as follows:
- Where is the source code:
D:/WORK/opencv-github/opencv - Where to build the binaries:
D:/WORK/opencv-github/opencv/build
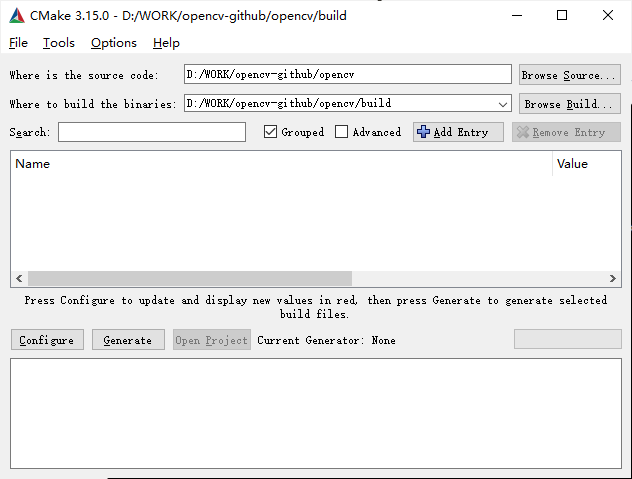
Click Configure, and select Visual Studio 16 2019 with the x64 platform.
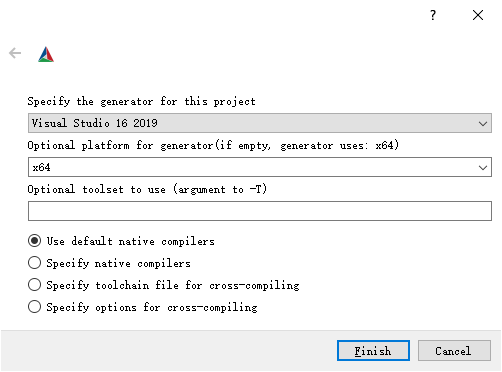
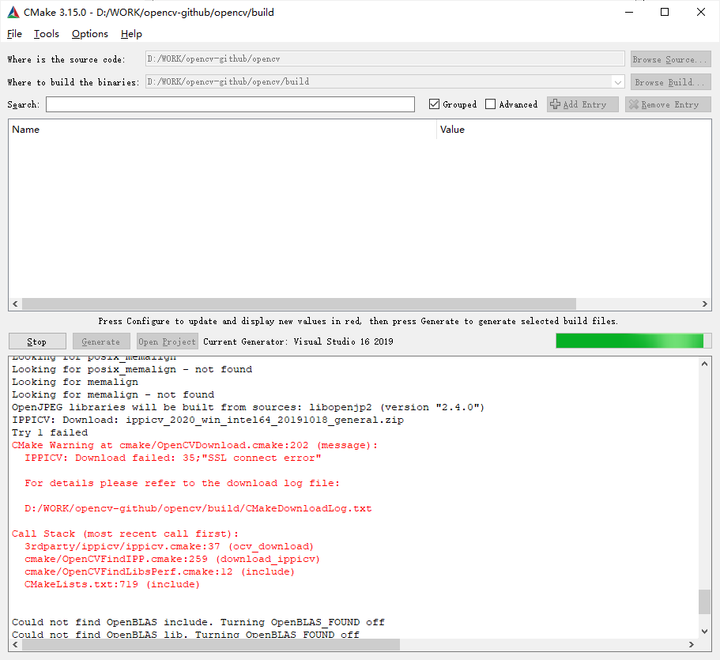
During the first configuration, the ippicv dependency might fail to download. Clicking Configure again usually resolves this.
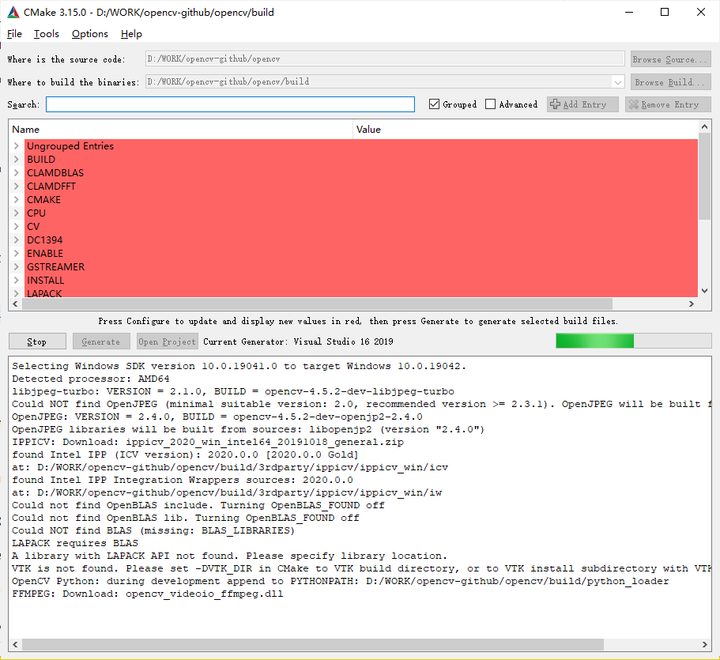
Customizing Build Options
-
Add Contrib Modules: Search for the
OPENCV_EXTRA_MODULES_PATHoption and enter the path to the modules folder withinopencv_contrib.D:/WORK/opencv-github/opencv_contrib/modules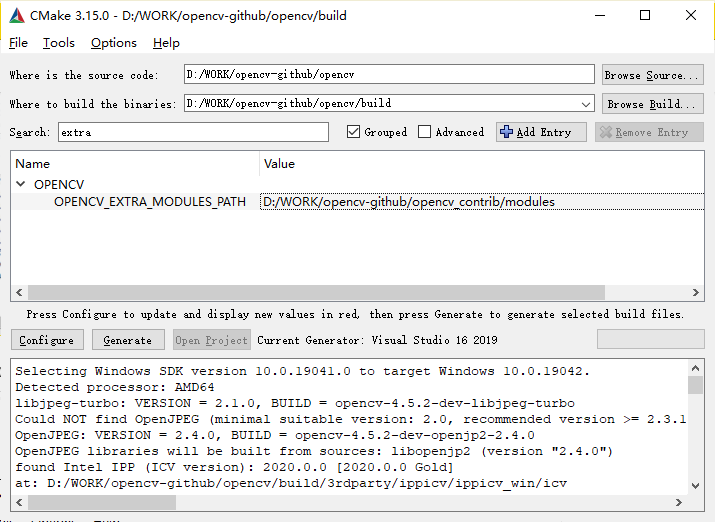
-
Enable CUDA Support: Search for “cuda” and check
OPENCV_DNN_CUDAandWITH_CUDA. Do not checkBUILD_CUDA_STUBS. Note: Ensure CUDA and cuDNN are pre-installed and their versions are compatible. Click Configure again.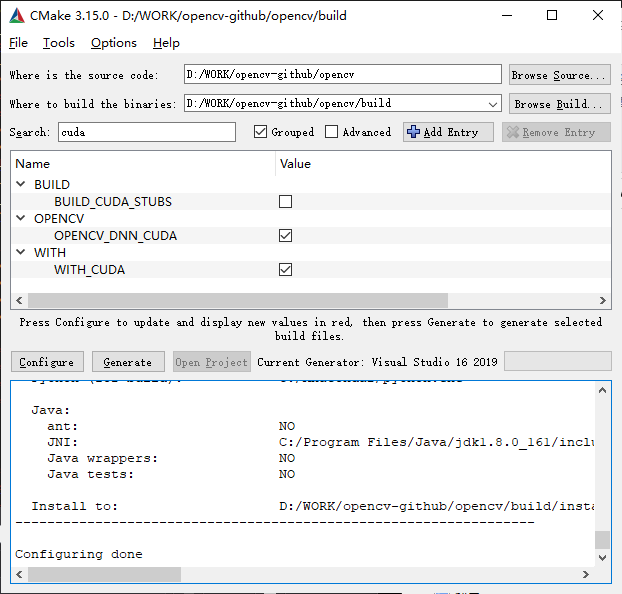
-
Build OpenCV World: Check the
BUILD_opencv_worldoption. This combines all modules into a single library file, making it much easier to link in your projects, though it results in a larger binary.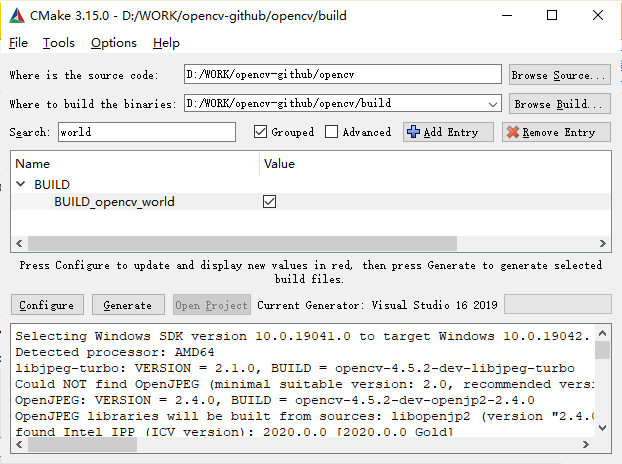
-
Enable Non-free Algorithms: Check
OPENCV_ENABLE_NONFREE. This includes algorithms that are patented and not free for commercial use, which is useful for research and experimentation. SIFT was once the most famous non-free algorithm, though it has since become free to use.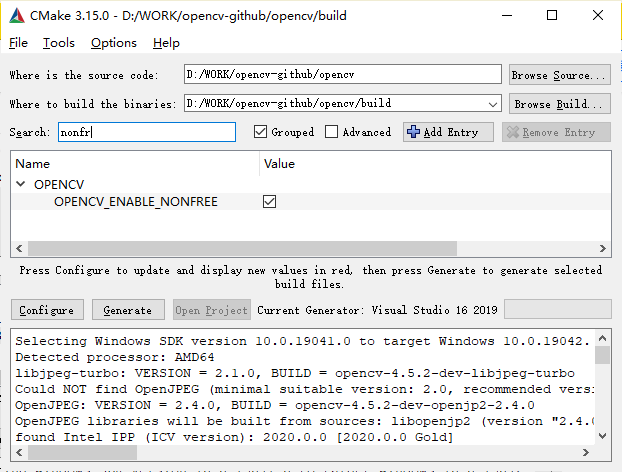
Generation and Compilation
Click Generate.
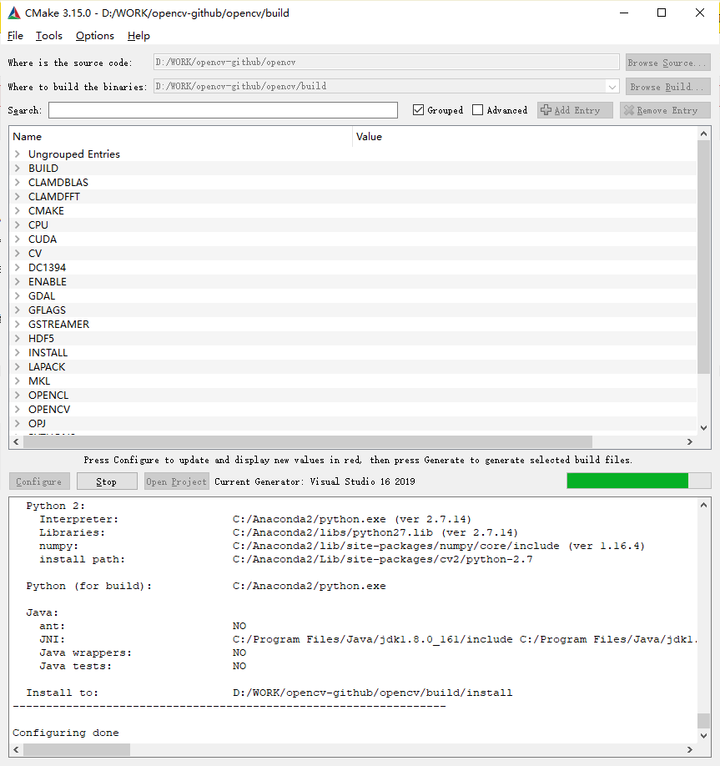
Once generation is complete, click Open Project to launch Visual Studio 2019.
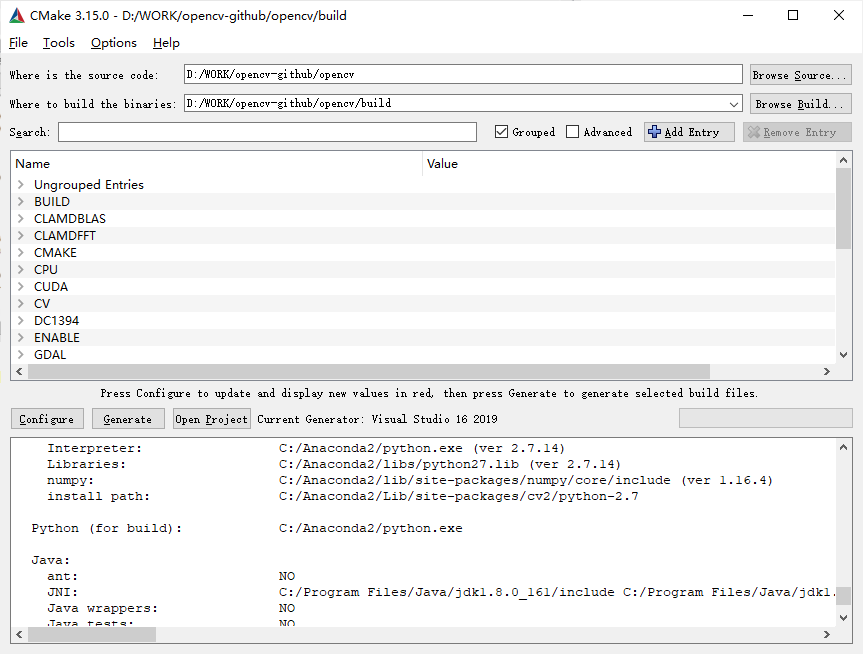
In the Solution Explorer, expand CMakeTargets and locate ALL_BUILD.
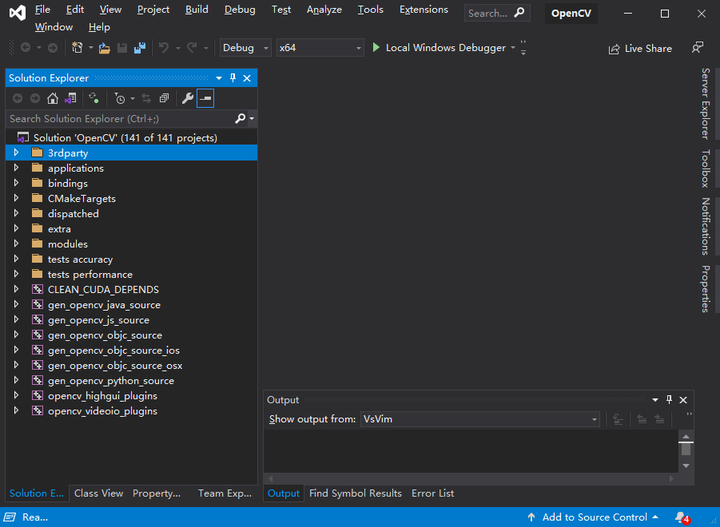
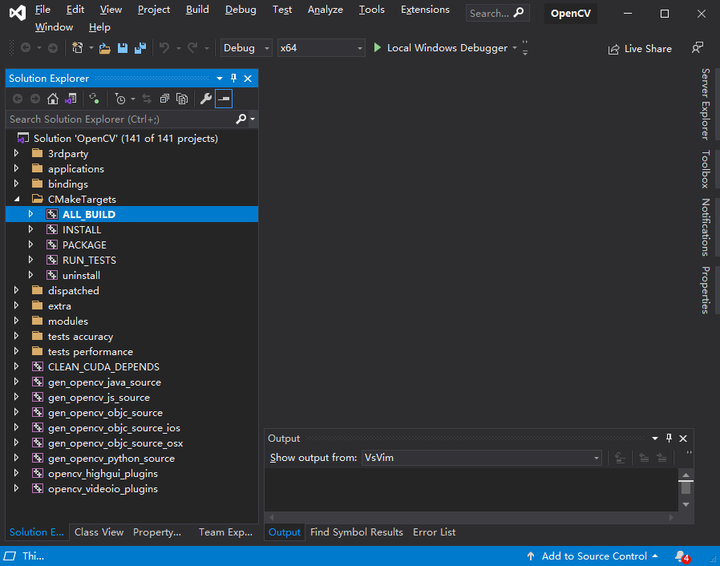
Right-click and select Build (or press F7). After ALL_BUILD completes, locate the INSTALL project and build it as well.
The resulting headers, .lib files, .dll files, and CMake configuration files will be located in the install folder within your build directory. This process is the Windows equivalent of running make and make install on Linux.
You now have a custom OpenCV build ready for development!